
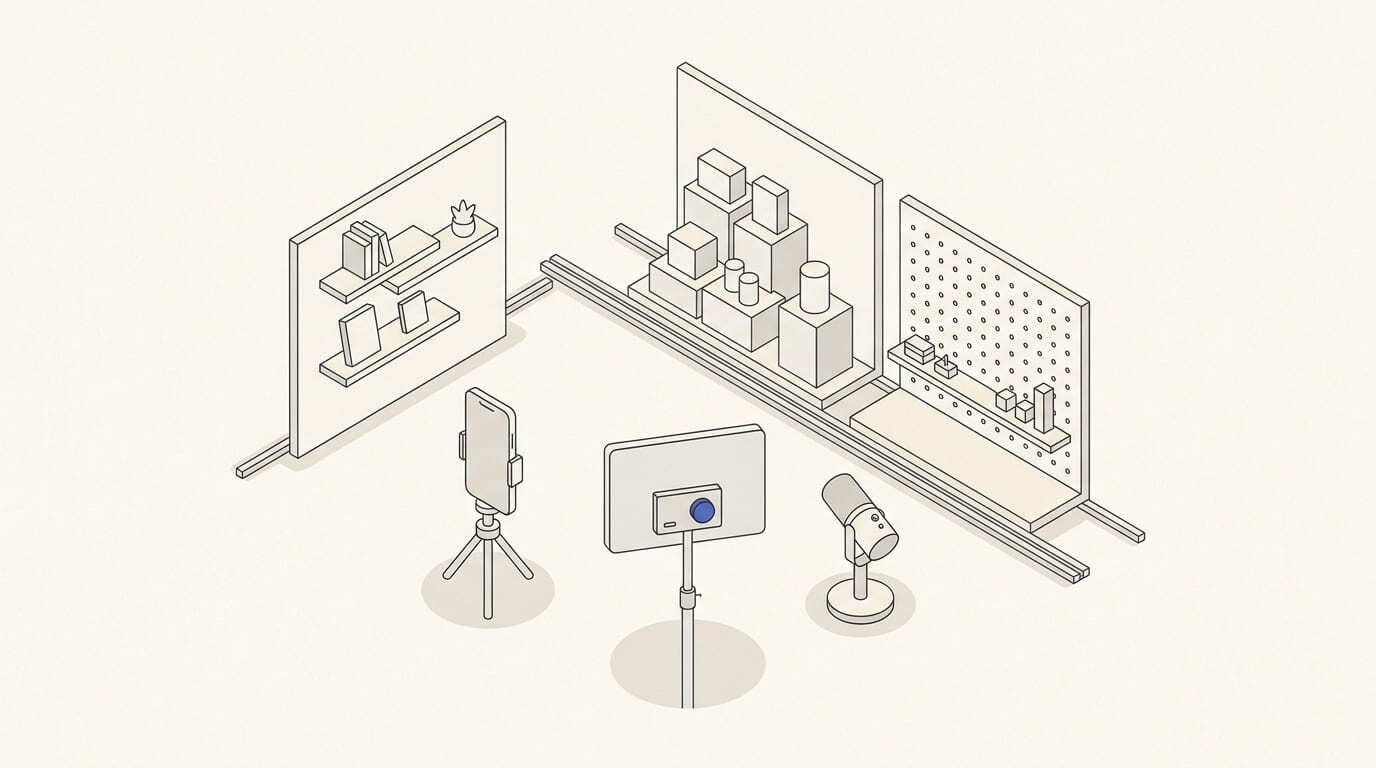
A workplace helps show the real company, but is not always ready for recording. Visitors walk behind the speaker, documents enter the frame, light changes from window to desk, and ventilation makes speech hard to understand.
Location preparation starts with the script and a short trial recording. Check whether the required action can be filmed at the chosen position without disrupting the business, while maintaining clear pictures and sound.
Choose positions for specific shots
List what needs filming: a specialist's explanation, a product action, equipment operation, a wide shot and details. Choose an accessible place and time for each.
In a shop, consider customer traffic and whether actions can be repeated. In an office, consider meetings, calls and room availability. At a production site, agree permitted areas and actions with the responsible employee.
Assess more than an attractive background. You need camera space, access to the object and a clear route between scenes. The article on filming Reels in one day covers series preparation.
Prepare the background and workspace
Remove stray boxes, unnecessary objects and distractions. Check screens, boards, documents, reflections and labels: customer data or private information must not appear accidentally.
Keep the process authentic. Do not show equipment you do not have or alter the workflow for an impressive shot if it misrepresents the service.
Agree the appearance of identifiable employees and visitors. Position cables and tripods so they do not obstruct passageways. Follow the site's established access and filming procedures.
Check lighting through the camera
Record a trial using the person or object that will appear. Assess the face, hands, product surface, reflections and background in the chosen vertical composition.
If a bright window is behind the speaker, try moving the camera or person. With mixed light sources, check skin and product colours. Record movement: bands and flicker may only become apparent in the recording.
For a series, agree consistent object and lighting positions. If you use daylight, allow for changes between scenes. Do not leave every difference to be corrected in editing.
Record a speech and workplace noise test
Listen with headphones. Check ventilation, refrigeration, calls, music, conversations, echo and clothing noise near the microphone.
Microphone distance from the speaker affects the balance between speech and ambient sound; this principle is explained in Shure's recording guide. Choose placement for the microphone and check the recording, beyond the on-screen level.
If an area is too noisy, separate process filming from recording the explanation. Record speech somewhere quieter and connect it with footage during editing. Agree equipment-operation changes with the responsible person; sound processing cannot replace an intelligible source recording.
Organise the filming sequence
Group shots by location, availability and recording conditions. Record explanations during a quiet interval, and actions and details when the process can be shown safely.
Prepare objects, consumables and demonstration documents for repeated takes. Record who grants access, confirms the action's correctness and can resolve questions on site.
If the owner appears, rehearse in advance using the camera preparation guidelines. Time on location can then go into recording rather than a first encounter with the script.
Location and trial-shot checklist
- Scenes, positions and access times are defined.
- Backgrounds, reflections and private information are checked.
- Participants and site restrictions are agreed.
- Composition, lighting and movement are checked in recording.
- Speech, echo and workplace noise are reviewed.
- The microphone and explanation-recording location are chosen.
- Objects, repeat takes and an on-site owner are prepared.
- The trial is saved for agreement with the editing team.
After filming, use the Reels editing acceptance checklist. Discuss preparation and production through the commercial proposal for Reels: provide location photographs, scripts and restrictions. Locations, transport, props and other additional expenses are agreed for the task.